5 Easy Steps for Gordon Ramsay Beef Wellington Recipe That Impresses
Table of Contents
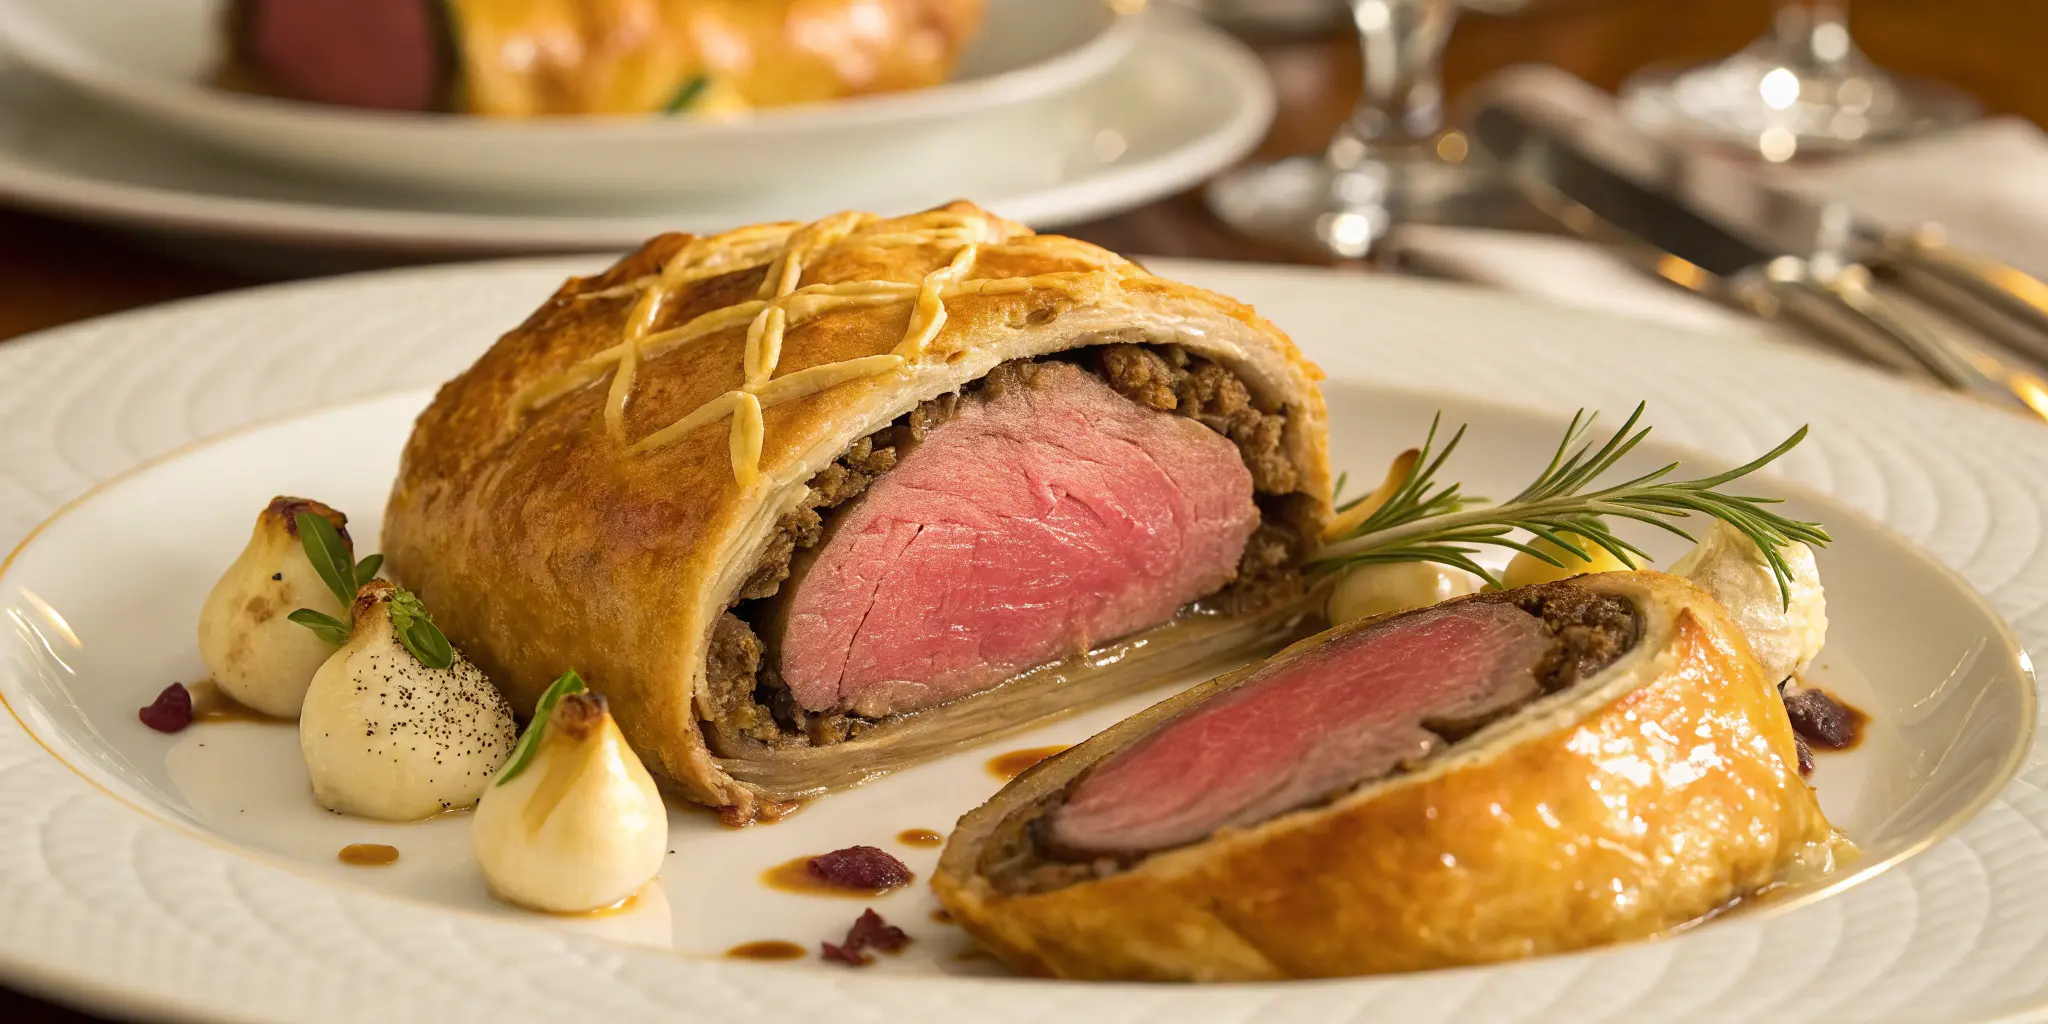
There’s something magical about bringing a showstopping dish to the table and watching your guests light up with anticipation. If you’ve ever dreamed of preparing the famous Gordon Ramsay Beef Wellington recipe that looks like it came straight out of a five-star kitchen, then this step-by-step guide will transform your next dinner into an unforgettable event. This Gordon Ramsay Beef Wellington recipe combines tender beef, earthy mushrooms, and golden puff pastry to impress anyone you serve it to.
What Makes Gordon Ramsay’s Beef Wellington So Iconic?
You’ve probably seen it on TV: Gordon Ramsay yelling in the kitchen, chefs sweating over whether their Wellington is undercooked or overbaked. So what makes this dish so legendary?
It’s all about layers of precision. Each component—from the tender beef to the earthy mushroom duxelles, salty Parma ham, and the flaky puff pastry—plays a critical role. The flavors balance beautifully, and when cooked just right, the result is an elegant centerpiece worthy of a celebration.
For Ramsay, this isn’t just a recipe—it’s a test of craftsmanship and timing. But for you, it’s about learning to handle a few key ingredients with care. And yes, once you understand the process, you’ll wonder why you ever felt nervous about trying it.
Essential Ingredients for Beef Wellington (Beginner-Friendly Shopping List)
Before you begin, it’s crucial to gather quality ingredients. Here’s a handy table to guide your shopping:
| Ingredient | Quantity | Notes |
|---|---|---|
| Beef tenderloin (center cut) | 2–2.5 lbs | Ask your butcher to trim it for you |
| English mustard | 2 tbsp | Adds subtle heat and tang |
| Chestnut mushrooms | 10 oz | Earthy flavor for the duxelles |
| Shallots | 2 medium | Sweet and mild, finely diced |
| Garlic cloves | 2 | Crushed or minced |
| Fresh thyme | 1 tbsp | Optional, adds depth |
| Parma ham or prosciutto | 8–10 slices | Thin and delicate |
| Puff pastry sheet | 1 large | Pre-rolled if you prefer convenience |
| Egg yolk | 1 | For brushing the pastry |
| Olive oil | As needed | For searing and sautéing |
| Salt and black pepper | To taste | Season as you go |
Make sure your beef is at room temperature before you start. It cooks more evenly and helps develop that stunning sear.
Kitchen Tools You’ll Need
Don’t worry—this isn’t a professional kitchen setup. You can pull this off with a few essentials:
- Cast-iron or heavy-bottomed skillet
- Food processor (for duxelles)
- Plastic wrap (for assembly)
- Pastry brush (for egg wash)
- Meat thermometer (your best friend)
- Baking tray lined with parchment paper
With your tools and ingredients prepped, you’re ready to dive into the cooking process.
Step-by-Step Gordon Ramsay Beef Wellington Recipe (Beginner’s Guide)
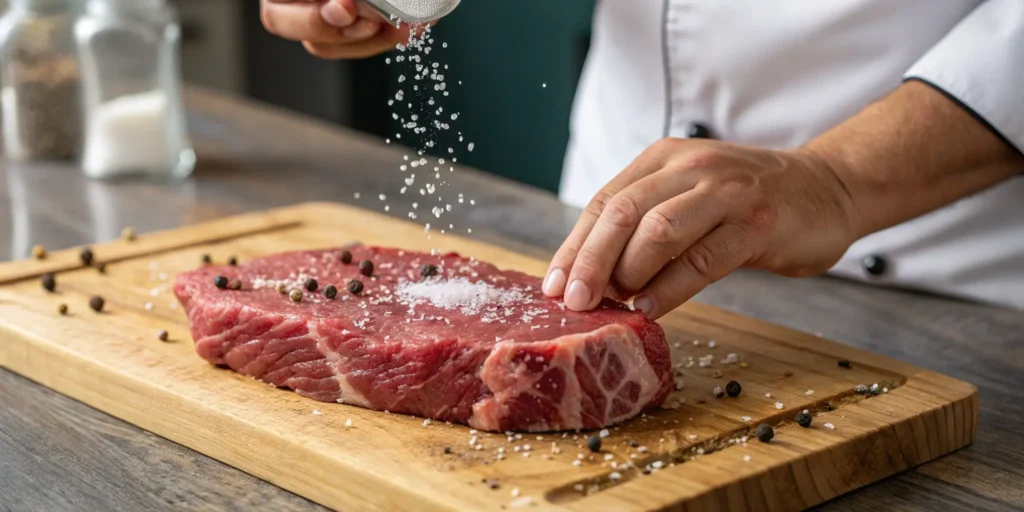
Step 1: Sear and Prep the Beef
Start by seasoning the beef tenderloin generously with salt and pepper.
- Heat olive oil in a skillet over high heat.
- Sear the beef on all sides for 1–2 minutes per side until golden brown.
- Remove it from the pan and brush with English mustard while still warm.
- Set it aside to cool completely.
💡 Why this matters: Searing locks in flavor and moisture. The mustard adds a subtle sharpness that cuts through the richness.
Step 2: Make the Mushroom Duxelles
This step is where the umami magic happens.
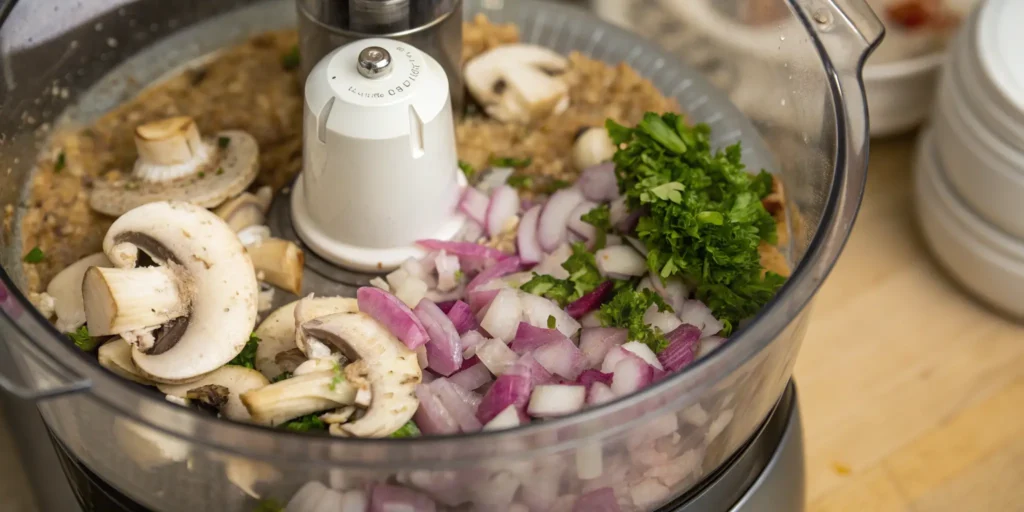
- In a food processor, pulse mushrooms, shallots, garlic, and thyme until finely chopped.
- Sauté the mixture in a dry pan over medium heat to evaporate all moisture.
- Stir continuously for 10–15 minutes until it forms a paste.
- Let it cool completely.
💡 Avoid soggy pastry by making sure your mushroom mix is as dry as possible.
Step 3: Assemble the Prosciutto Layer
Here’s where things start to come together.
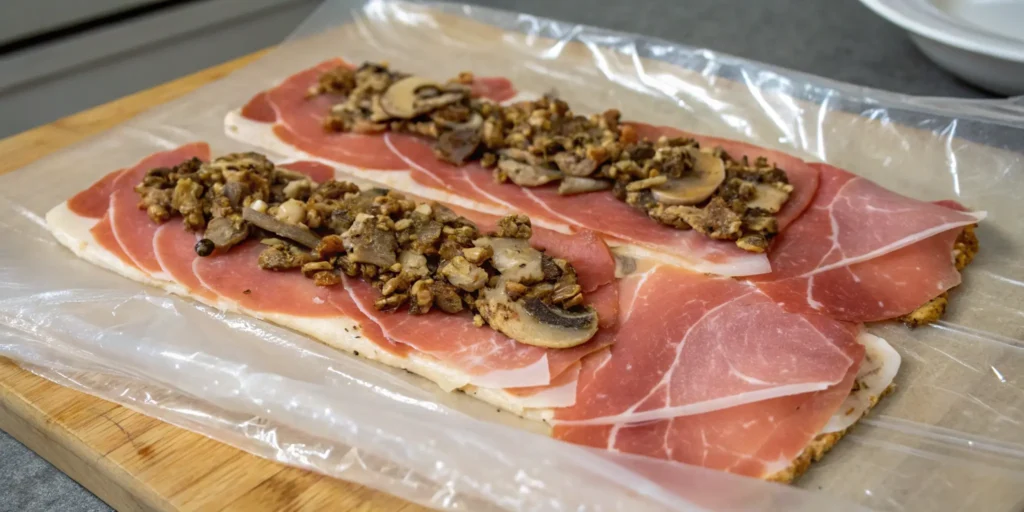
- Lay out a large piece of plastic wrap on your counter.
- Arrange slices of prosciutto slightly overlapping in a rectangle.
- Spread the cooled mushroom mixture evenly over the prosciutto.
- Place the beef tenderloin at the bottom edge and carefully roll it up tightly using the plastic wrap.
Pop this into the fridge for about 15–20 minutes to firm it up.
Step 4: Wrap in Puff Pastry
Almost there! This step seals the deal—literally.
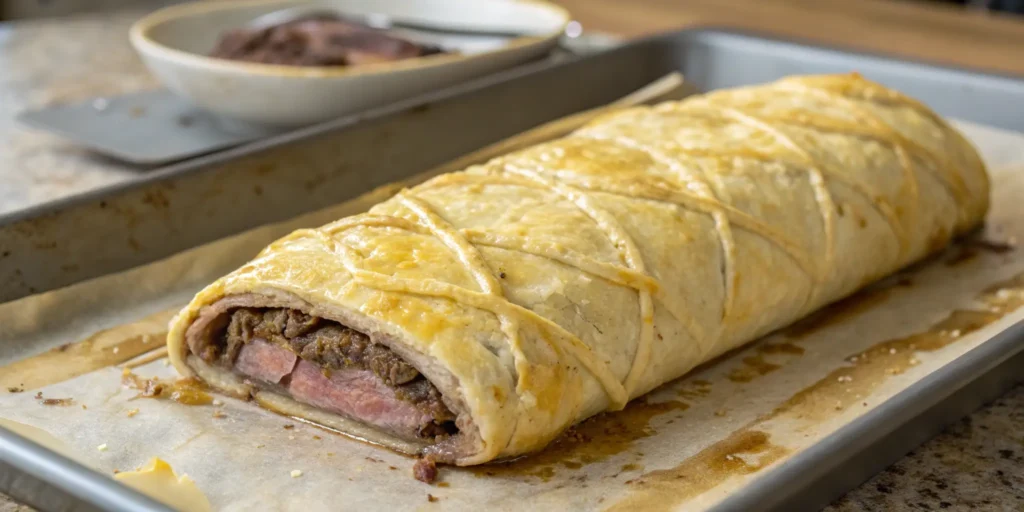
- Roll out the puff pastry into a rectangle.
- Unwrap the beef from the plastic wrap and place it onto the pastry.
- Fold the pastry around the beef, trimming excess and sealing the edges.
- Place seam-side down on a parchment-lined tray.
- Brush with egg yolk for a glossy finish.
- Score lightly with a knife for decoration (optional).
- Chill again for 15 minutes.
💡 Cold pastry bakes better and holds its shape in the oven.
Step 5: Bake to Perfection
Preheat your oven to 400°F (200°C).
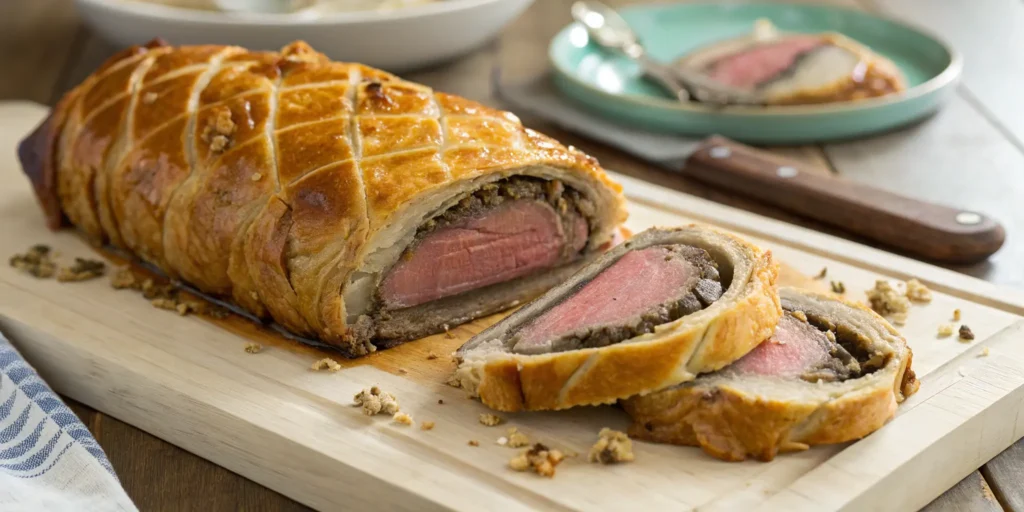
- Bake for 35–40 minutes until the pastry is golden and crisp.
- Use a meat thermometer to check the center:
125°F (52°C) for medium-rare (recommended). - Rest the Wellington for 10 minutes before slicing.
Serving Suggestions: What Pairs Best With Beef Wellington
You’ve nailed the main course—now let’s complete the experience. Keep sides simple and elegant:
- Creamy mashed potatoes: A classic base for soaking up jus.
- Garlic-roasted vegetables: Think carrots, asparagus, or Brussels sprouts.
- Red wine reduction sauce: Optional but adds a rich finish.
- Peppery arugula salad: A light counterbalance to the richness.
A glass of full-bodied red wine—like Cabernet or Bordeaux—elevates the entire meal.
Avoid These Beginner Mistakes
You’re not the first to try this dish, but you can avoid the common slip-ups:
- Skipping chilling steps: Leads to pastry that falls apart.
- Overcooking the beef: Use a thermometer—guessing doesn’t work here.
- Leaving moisture in duxelles: Results in soggy pastry.
- Improper sealing of pastry: Juices leak out and ruin the crust.
- Using cheap pastry: Go for quality or make it from scratch if you’re confident.
Remember: it’s not about perfection—it’s about progress and learning. Each attempt builds your kitchen confidence.
Nutritional Overview of Beef Wellington
This dish is indulgent, no doubt. But for special occasions? It’s worth every bite.
- Calories: ~750 per serving
- Protein: 40–45g
- Carbs: 30–35g
- Fat: 50–55g
Serving sizes vary, but moderation is key. Pair with veggies for a balanced plate.
Frequently Asked Questions About Gordon Ramsay Beef Wellington Recipe
Q: Can I prepare Gordon Ramsay’s Beef Wellington ahead of time?
Yes! You can assemble the Wellington and refrigerate it (unbaked) for up to 24 hours. Just remember to add the egg wash right before baking.
Q: What’s the best cut of beef for this recipe?
Use a center-cut beef tenderloin. It’s lean, tender, and ideal for even cooking.
Q: Can I freeze Beef Wellington?
Absolutely. Wrap it well before freezing and bake directly from frozen, adjusting time as needed. Or thaw overnight and bake per instructions.
Q: Do I need a meat thermometer?
For your first time—yes. It’s the most reliable way to ensure doneness without guesswork.
Q: How do I reheat leftovers without ruining the crust?
Place slices in a 350°F oven for 10–12 minutes. Avoid microwaving; it makes the pastry soggy.
Your Journey Into Gourmet Cooking Begins Now
You’ve just learned how to master one of the most celebrated dishes in fine dining. And guess what? You did it as a beginner.
With patience, practice, and the right guide—you—yes, you—can pull off this Gordon Ramsay Beef Wellington recipe with elegance. Whether it’s a holiday dinner or a special date night, this dish delivers on flavor, wow factor, and personal satisfaction.
Ready to Cook Like a Pro?
Don’t wait for the perfect moment. Create it. Head to your kitchen, gather your ingredients, and get started. Once you serve this dish, you’ll never look at cooking the same way again.
🧑🍳 Take your skills to the next level—try Gordon Ramsay’s Beef Wellington today.
Have a question or want more recipes like this? Leave a comment or share your results—we’d love to hear from you!